
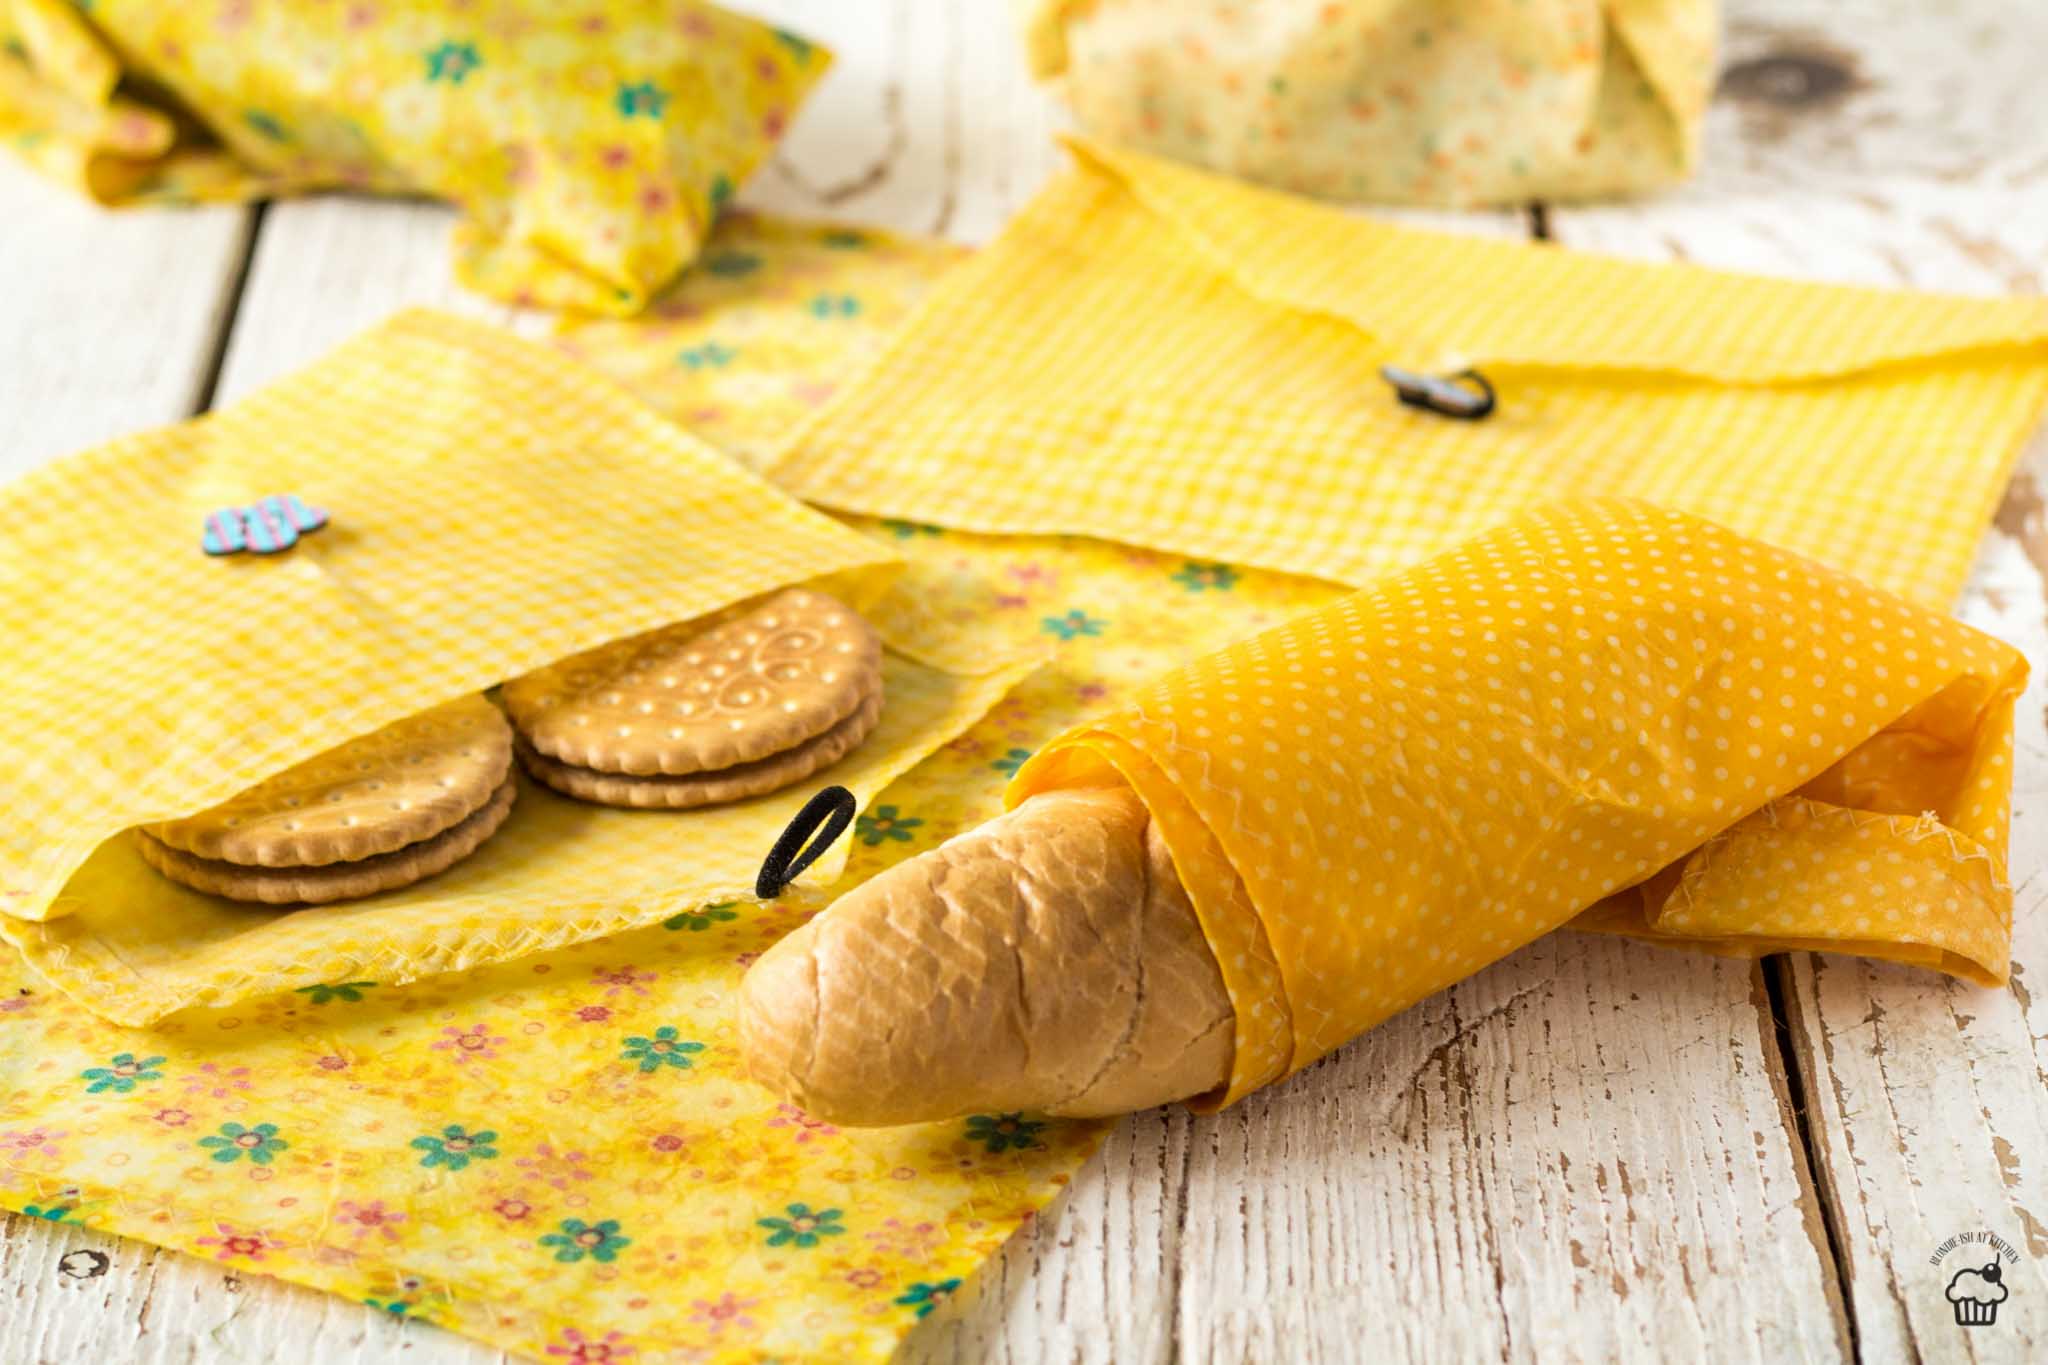
For the first time there is something else on the blog than a recipe. I´ve been more interested in zero waste lately – when one thinks how much plastic and plastic bags are used, it is almost unbelievable. So I started to use an alternative, at least for bread rolls as a snack for school, for which I had used plastic wrap. This alternative is DIY Beeswax Food Wraps, which can be made at home. Home version is much cheaper than those you can buy, you can make more of them and use them to wrap something in our fridge, to cover bowls, and so on. You really can use them in many ways.
Thanks to beeswax, which has disinfectant function, food is safe. You can read on some websites to also use jojoba oil, they say it is better for elasticity, but I didn´t use it and I don´t think it is necessary.
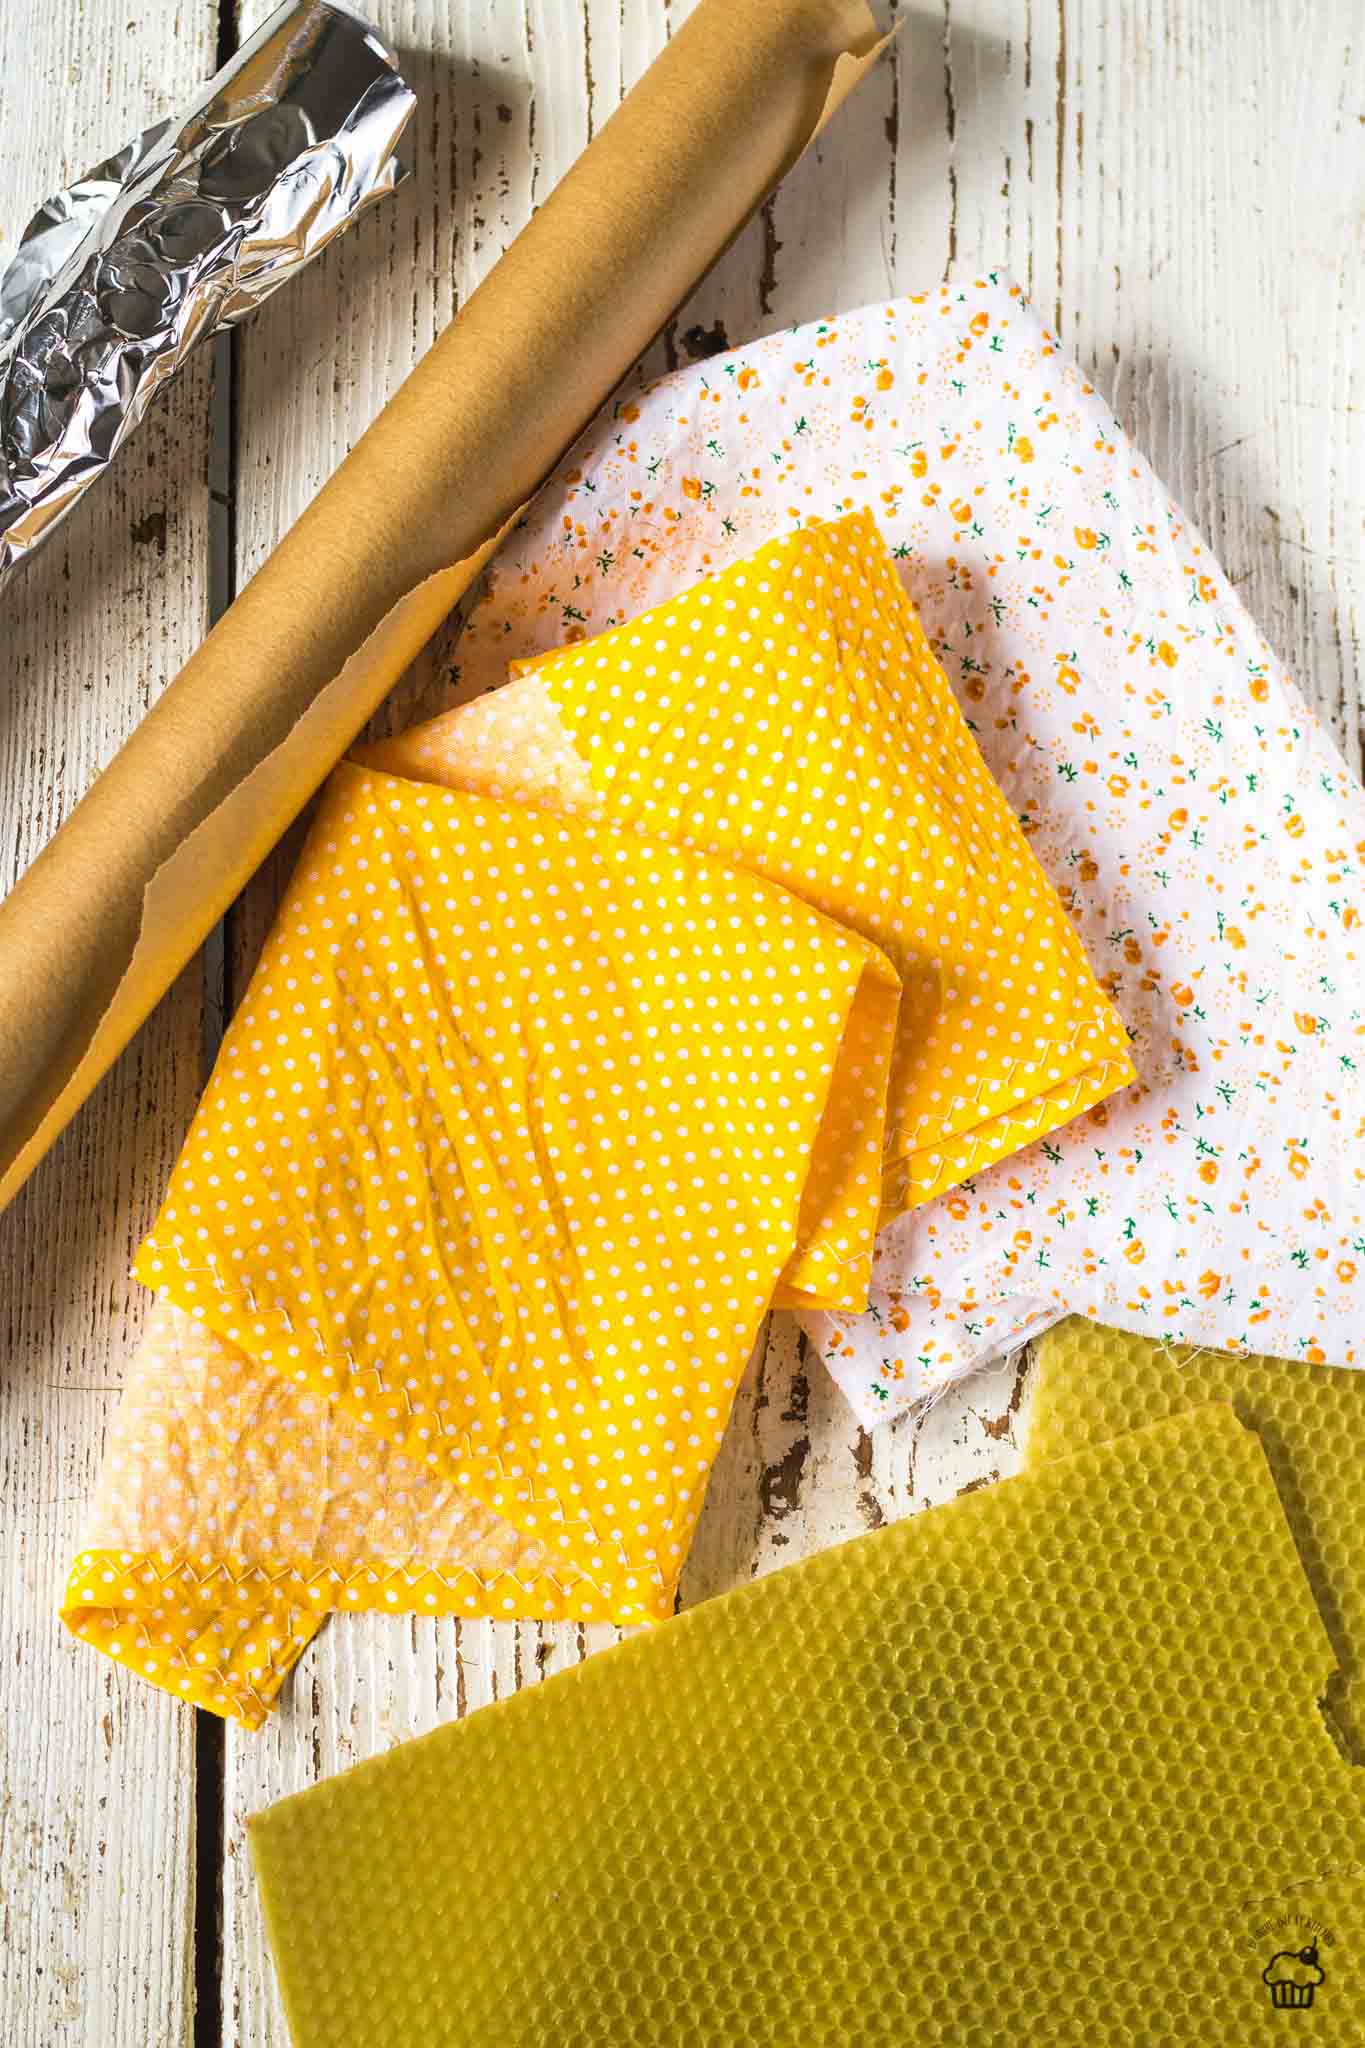
You will need cotton fabric to make them – if you don´t want to buy in bulk, go to some trift stores and look for 100% cotton clothes. This way, you can have more wraps in multiple colors. I recommend looking for child clothes since they have nice patterns. You can hem fabrics. Next, you will need beeswax. You can buy a beeswax cube and peel the cube using a peeler – but it takes a lot of work. I bought Beeswax Honeycomb Sheets – you need just to tear them and put them on fabric since they are thin. Two Beeswax Honeycomb Sheets were enough for about 6 large wraps. Besides them, you need aluminum foil, parchment paper, and if beeswax leaks through parchment paper, which in my case did, you also need old newspaper that you will be put under and over parchment paper since you iron over newspaper. The first time I did it, I didn´t use newspaper and I ended up with grease stains on my ironing board so use newspaper and make sure aluminum foil overlaps.
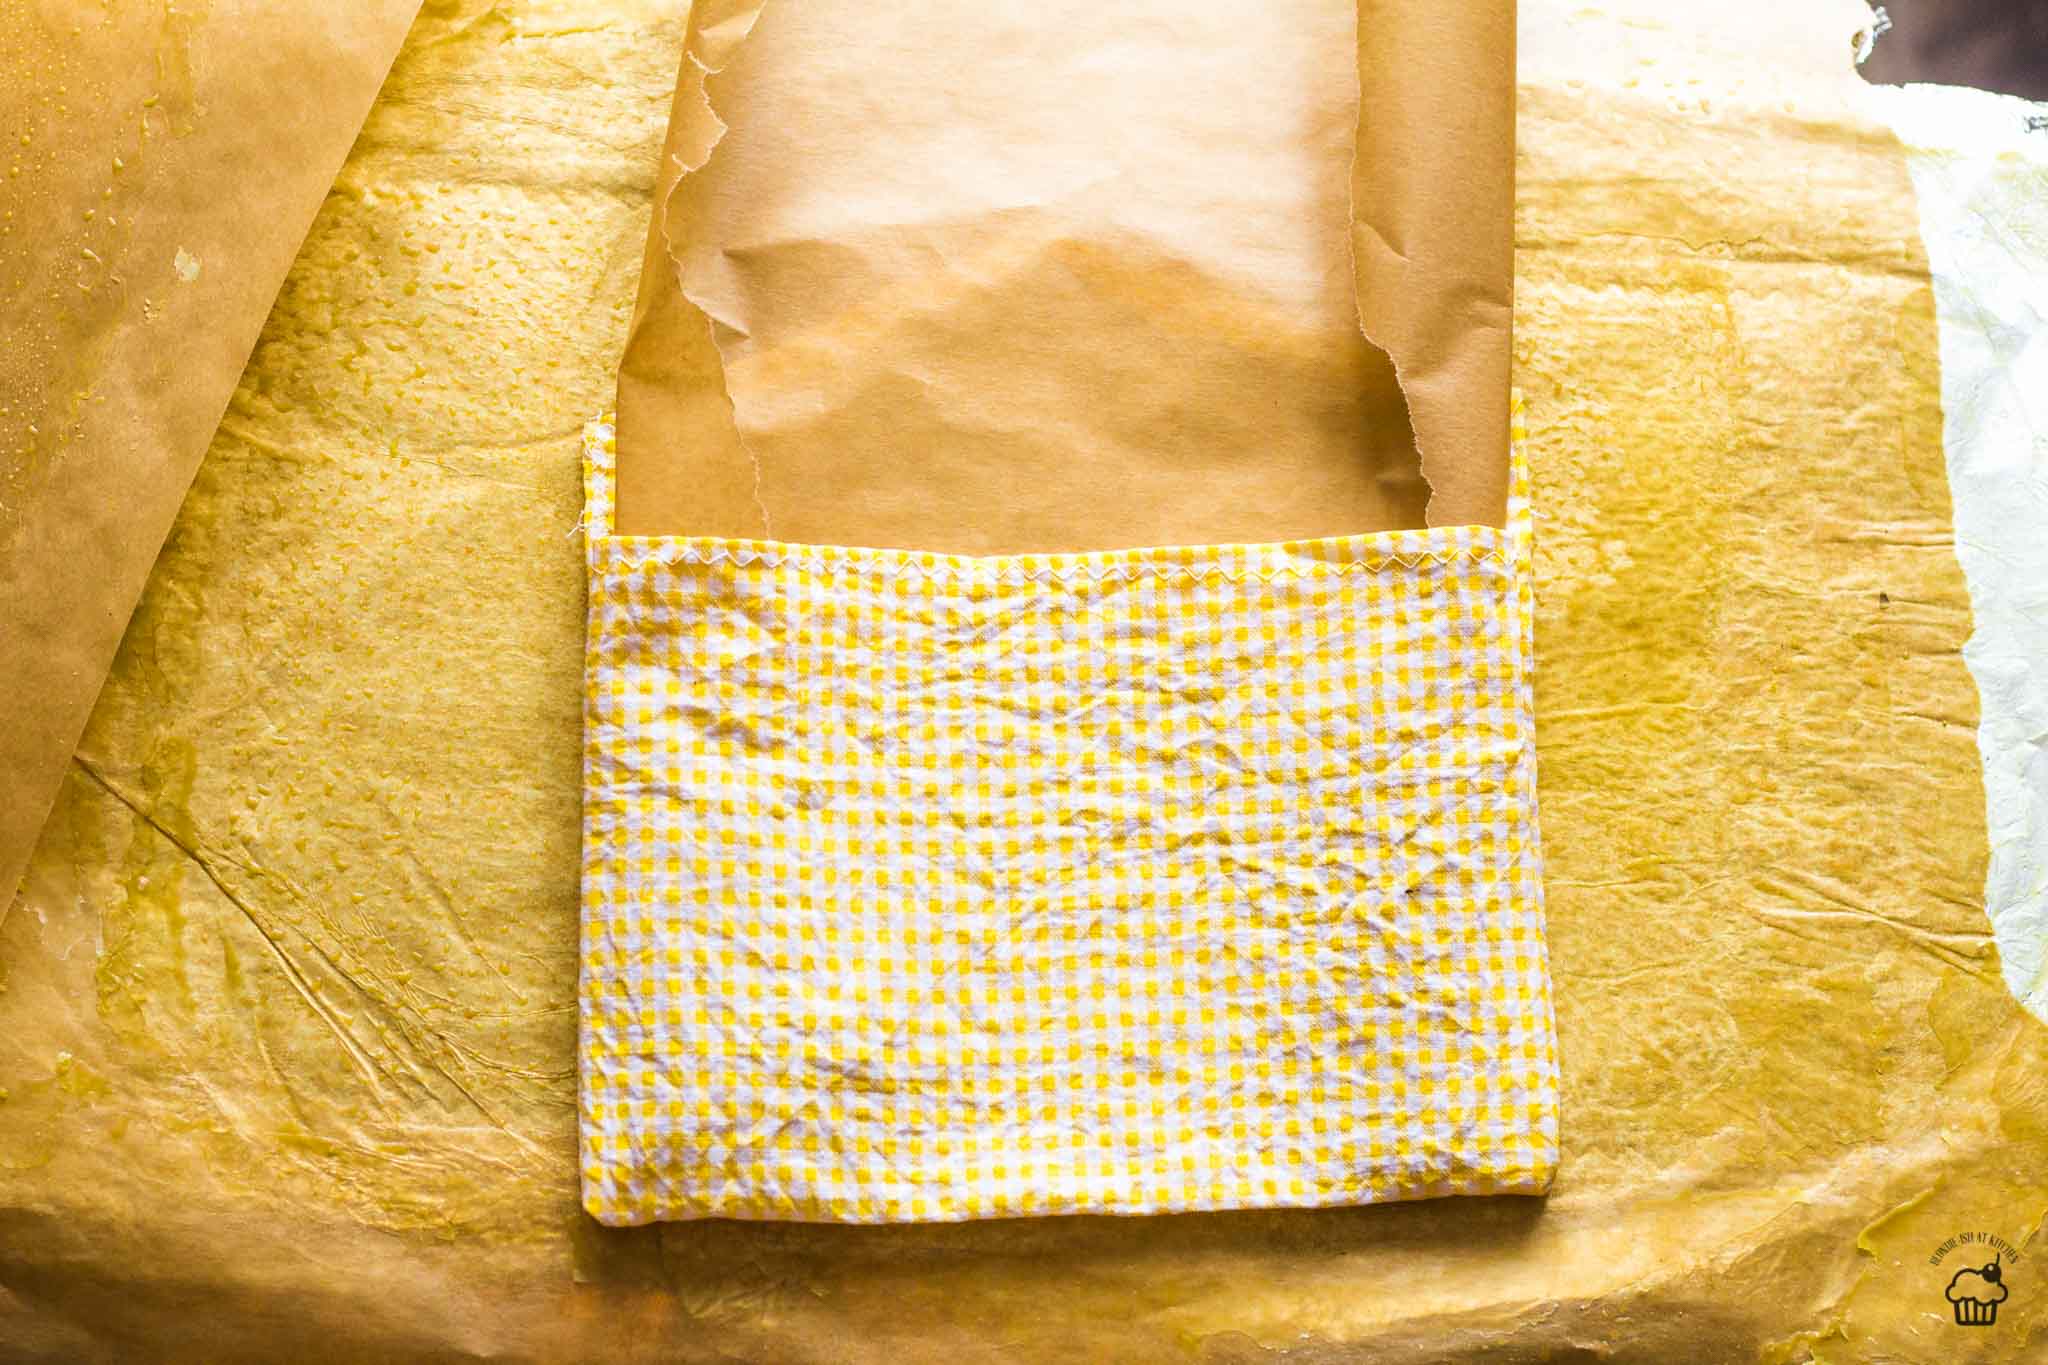
If you want to make a beeswax bag, at first, sew it together, put parchment paper inside, iron one side with beeswax, turn over, iron the other side with beeswax, take away parchment paper and let it cool in a way the inside will not stick together. When the bag is cooled, sew a button and elastic band.
If wraps are too used, you just need to iron them again in the same way or add more beeswax to a place without wax and you can keep using them. Wash wraps only in cold water since hot water would melt beeswax.
I hope I mentioned everything, their production is really simple, they can be used in various ways and I´m sure you find them handy.

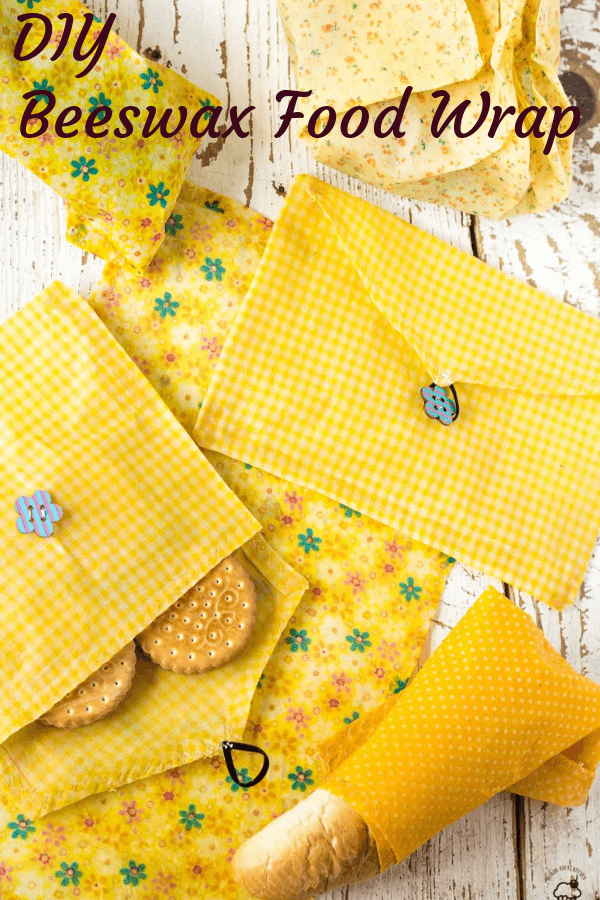
DIY Beeswax Food Wrap
- Old newspapers
- Aluminum foil
- Parchment paper
- 100% cotton fabric
- Beeswax (Beeswax Honeycomb Sheets)
- Put newspaper, then aluminum foil which overlaps around the edges on the ironing board.
- Put parchment paper on aluminum foil which also overlaps around the edges.
- Put cotton fabric on parchment paper.
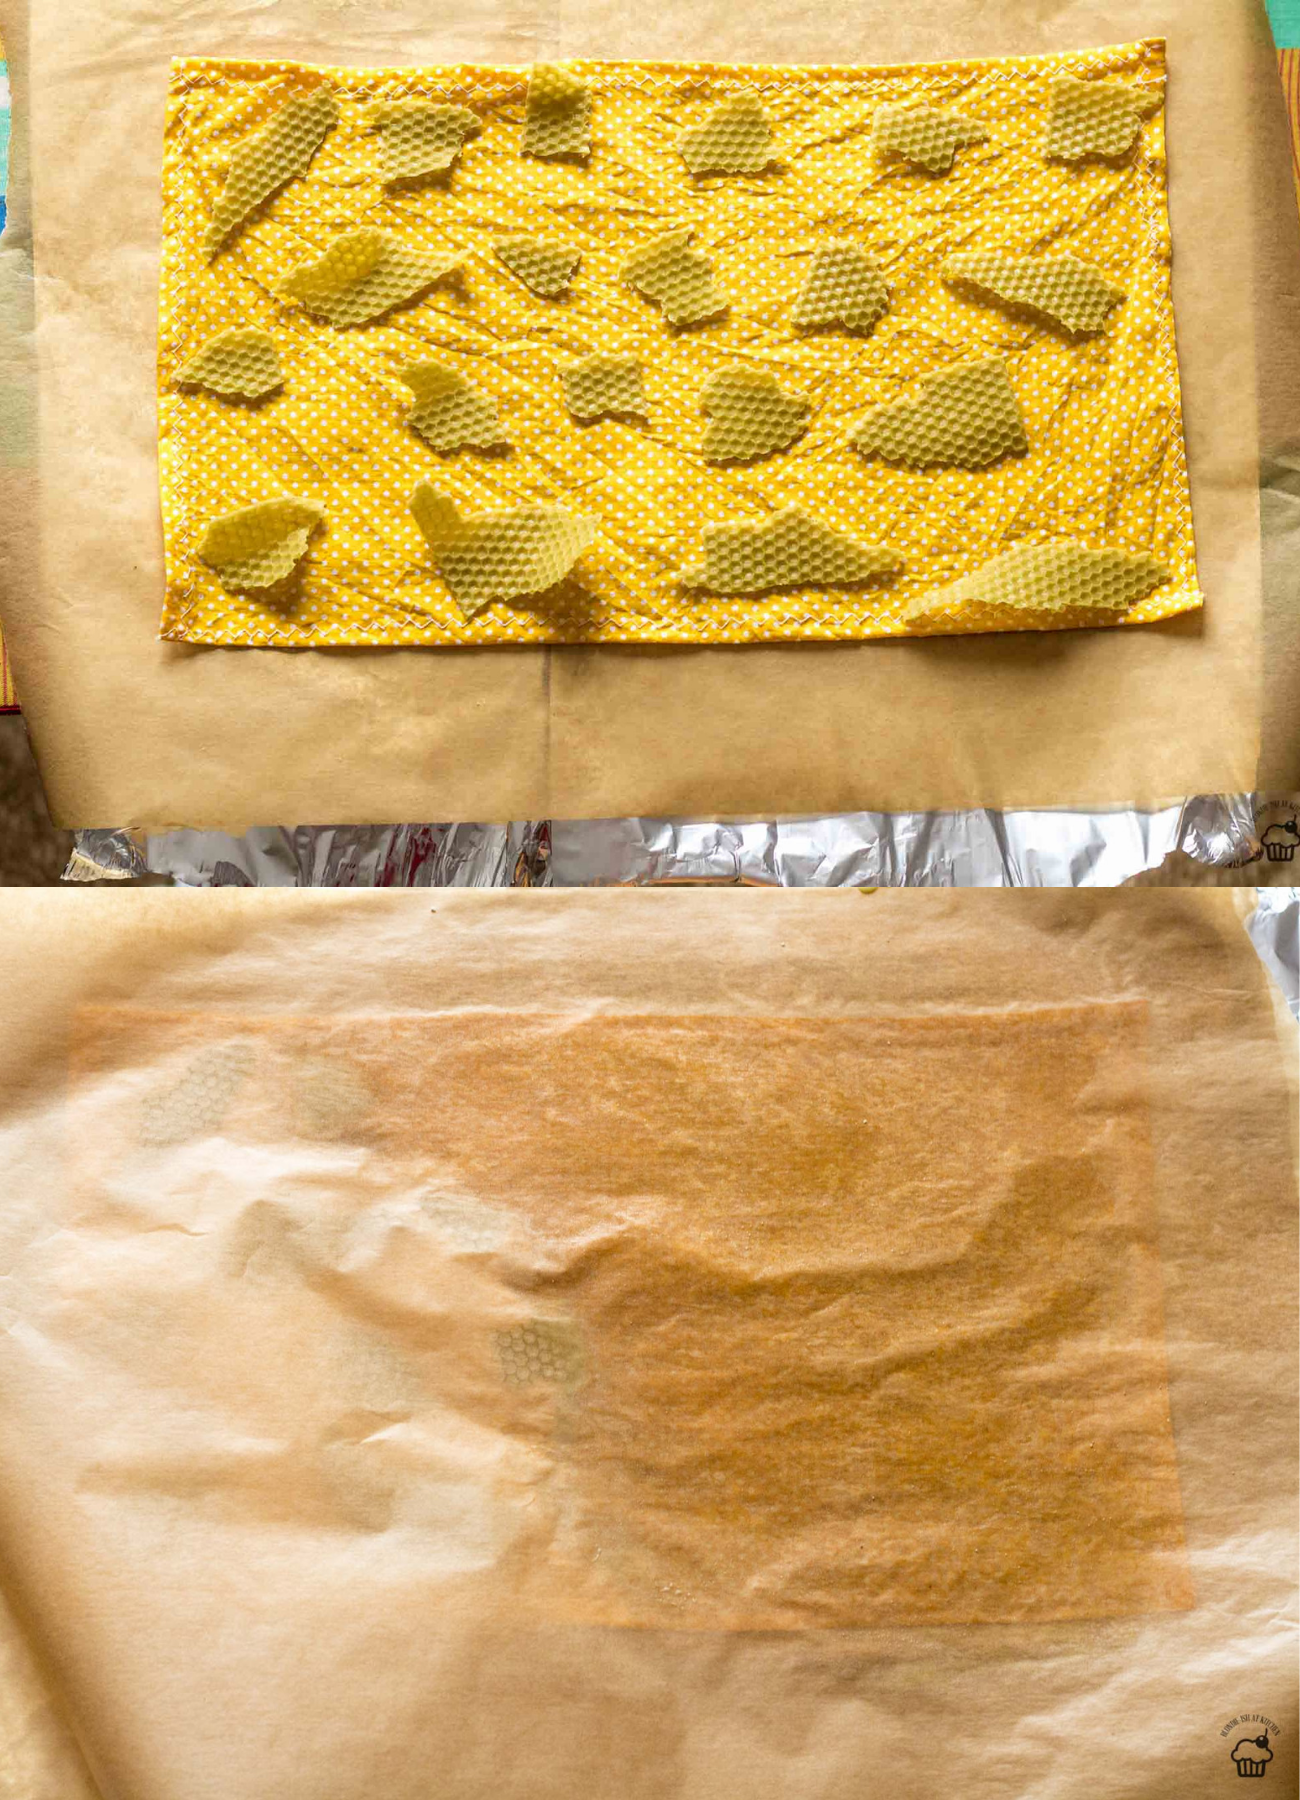
- Tear Beeswax Honeycomb Sheets into pieces and put them on cotton fabric – if you have beeswax in the form of a cube, peel the cube using a peeler.
- Cover beeswax with another parchment paper.
- You can put another old newspaper on parchment paper, if beeswax leaks a lot through parchment paper.
- Iron the fabric with an iron.
- If there are some dry/no-beeswax spots on the fabric, put some beeswax on these spots and iron it again, also applying parchment paper.
- Remove parchment paper while the fabric is still hot and let it cool it in a straight position.

Ahoj,
len tak pre info, som včelárka a tie voskové pláty sa volajú medzistienky. Zatavujú sa do rámikov a vkladajú do včelích úľov na vystavanie plástov. Inak pekný článok.
Ďakujem za opravenie 🙂